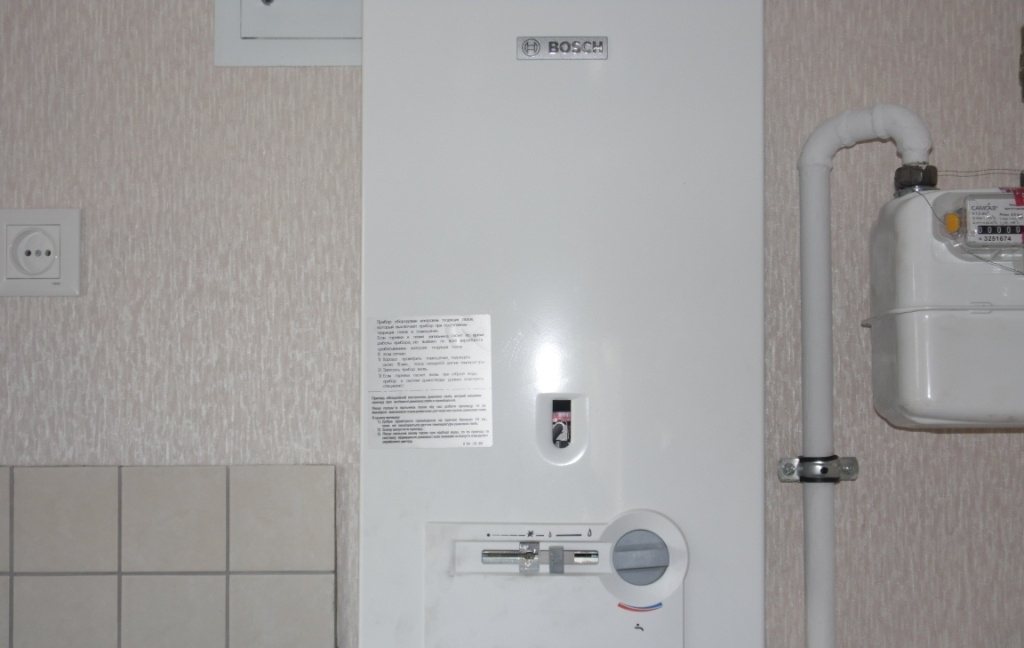
If you faced the need to replace the gas column, then you can do the work yourself, saving about 3,000 rubles. However, gas must be handled with care. If you show negligence, then the consequences can be very deplorable. This often leads to the need for repair and replacement of the gas column.
Installation Standards and Requirements
All types of work with gas supply, which include the installation of tees, the supply of a gas pipe and the installation of shut-off valves on a gas pipe, should be entrusted to specialists of an organization that has an appropriate license. If this provision is ignored, then you may be faced with the need to pay a fine.
Column installation work must be divided into two categories. The first involves mounting the device from scratch. The second is replacing the old device with a new one. In the first case, a gas pipe will be required to the location of the water heater. You should also take care of the availability of the project. These activities are carried out by gas facilities in each district or company with a license for a certain type of activity. It is impossible to do anything on your own in this case.
If the project is ready and everything is agreed, then you can do part of the work yourself, saving money. It is necessary to start manipulations after drawing up the project and obtaining approvals, as well as permissions. The installation standards for the described equipment are regulated by SP 42-101-2003, which stipulates the provisions for the construction and design of gas distribution systems. It should also take into account the act of SNiP 42-01-2002, which refers to gas distribution systems.
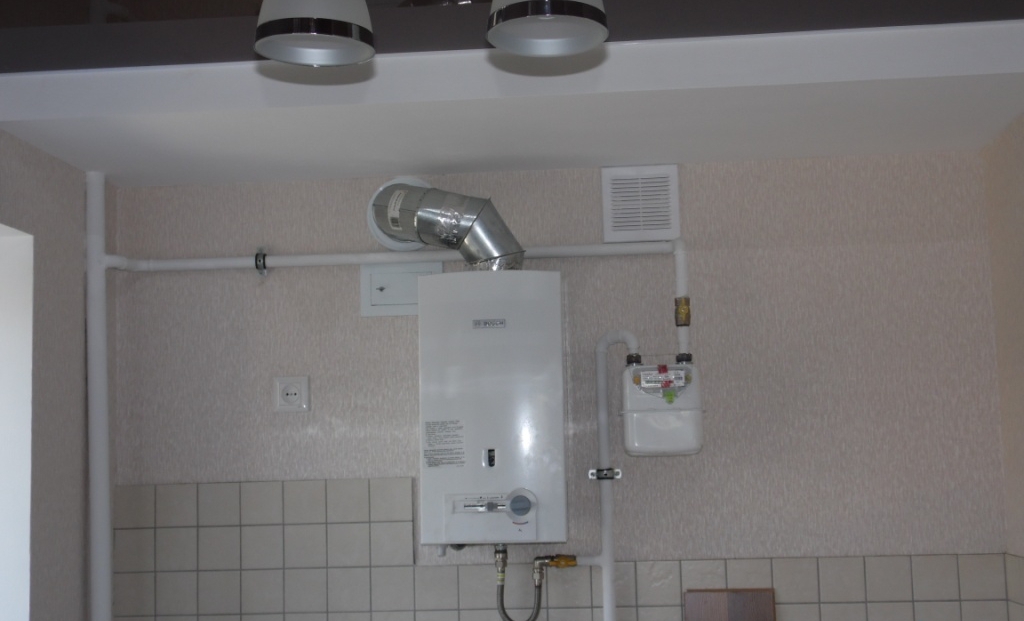
When replacing a geyser, make sure that the ceiling height is at least 2 m. There must be a chimney in the room. Its diameter is 120 mm. “Stuffers” in apartments do not belong to those. The water supply should maintain a pressure of 0.1 atmosphere. Geysers should not be installed in bathrooms.
Installation should be carried out on walls made of non-combustible materials. Do not place the appliance over a gas stove. If this cannot be avoided, then the distance should be more than 10 cm. If the column, which was operated in the bathroom, must be replaced and meets the technical standards, then installation is allowed in the same room.
Column dismantling
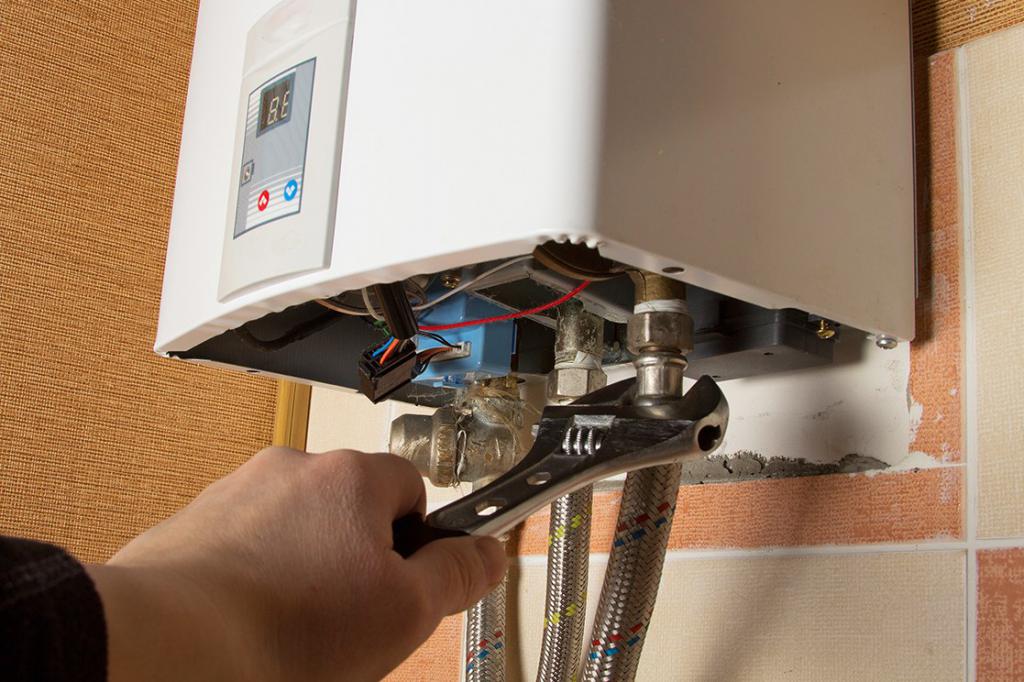
The replacement of the gas column must be started by dismantling the old appliance. If you carry out these works yourself, then you can save up to 800 rubles. Manipulation should begin with blocking the access of gas to the equipment. To do this, the tap at the end of the pipe is closed. Use an open-end wrench or adjustable wrench of the appropriate size to unscrew the hose fixing nut.
Sometimes there is a way to supply gas using a metal pipe. The gas pipe is rarely damaged when the hose is unscrewed. If a piece of a metal pipe was used for summing up, then the unpleasant outcome is quite real. This is especially true for the case when the junction was painted with paint from year to year.
Excessive effort to remove the layer is not worth it. A solvent is used for this. The gas pipe must be held by unscrewing the nut. This reduces the chances of damaging communications. After disconnecting from the gas pipe, the hose is removed from the point of entry into the device. If it has recently been changed and its condition is satisfactory, you can reuse this part of the system when connecting a new speaker. When in doubt about the reliability of the hose, you should purchase a new one.When buying, you must choose a certified, proven product that will ensure safety.
Features of dismantling: shut off water supply and purchase of additional consumables
When replacing the gas column at the next stage, it is necessary to shut off the water supply system. If taps are provided to turn off the speakers, they should be shut off. In the absence of such an opportunity, it is necessary to shut off the supply to the apartment. In the latter case, before installing a new device, it is necessary to purchase two taps for the outlet and entrance of water. These elements are installed on the part of the pipe where the connection will be made. In the future, this should facilitate the maintenance of the device.
After disconnecting the column from the water supply system, it is necessary to remove the connecting pipe from the output of the device and remove it from the chimney. The column is disabled. It can be removed from the mount. The space for installing a new unit has become free. You can proceed to the next stage of work.
Installation of a new water heater: preparation of materials
Before starting installation, you should take care of the following materials:
- galvanized pipe;
- rings for entering the chimney;
- asbestos or metal chimney.
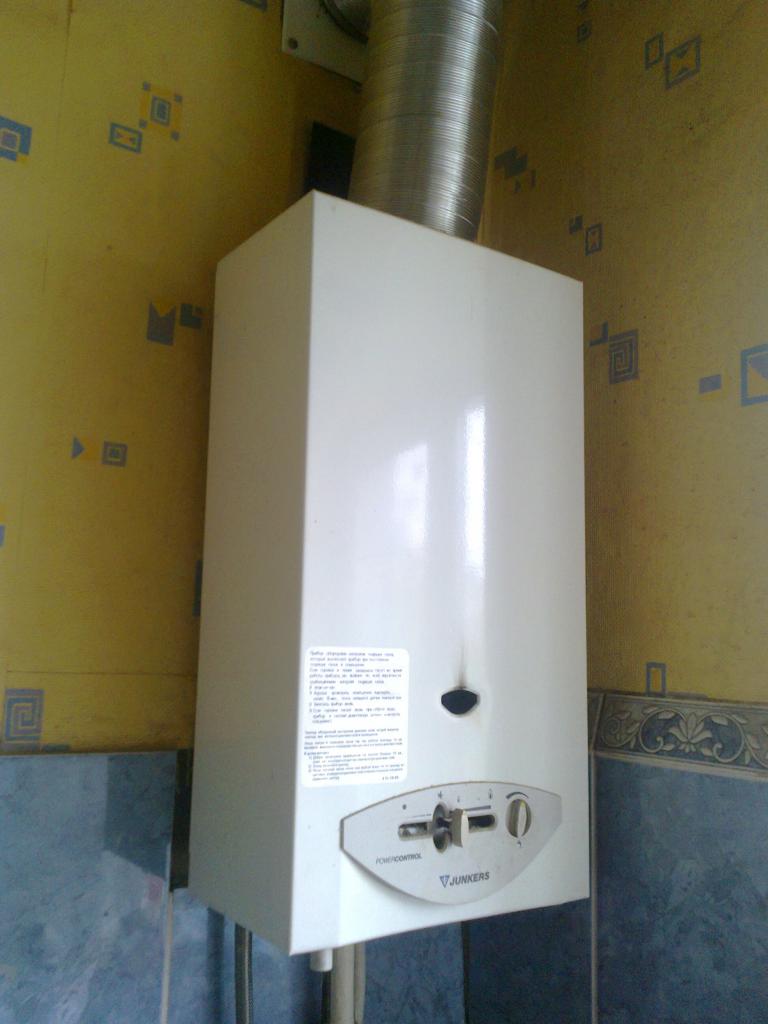
The galvanized pipe can be replaced with corrugation. If this item comes bundled, you won’t have to spend money. Otherwise, it is necessary to determine the diameter of the outlet or see this parameter in the instructions.
When replacing a geyser in a house, a pipe made of metal or asbestos will be required. Its diameter should be 120 mm. This value can be increased. The length should be 2 m. By increasing this parameter, you can improve traction.
You will also need a gas type hose. Its size will depend on the specific conditions. For example, a step from the end of the gas pipe to the input to the device. It is important to consider the type of thread at the input to the machine. The hose tip must fit and match the type of thread. The water supply connection point is prepared in advance.
You will need two connecting hoses. This work can be done using a metal-plastic pipe. In the latter case, you should decide whether a sleeve is needed so that the pipe dimensions and the connection point fit together. When replacing a geyser in an apartment, you will also need dowels that will allow you to fix the device to the wall. If there is no coarse filter in the house, it must be installed. The life of the unit will depend on the quality of the water.
Tool preparation
Depending on how complex they are, some tools will be needed. Among them are the following:
- adjustable wrench;
- hammer drill;
- hell;
- sealant;
- open-end wrenches.
A set of chisels and drills should go to the punch. You will need a drill with a drill, which is designed to work with ceramic tiles.
Column setup
When replacing a geyser with a new one, the points for mounting the fasteners should be noted. It is necessary to determine the height of the device so that the connecting pipe has a length of 50 cm from the outlet to the outlet. When the height of the room is more than 2.7 m, this value should be reduced to 25 cm.
The height of the water heater should be such that children do not have free access to the device. Between the mounting holes on the housing, measure the distance. Using a punch or drill, holes are made for installing dowels. Next, hooks are mounted. After that, the column can be hung on the wall.
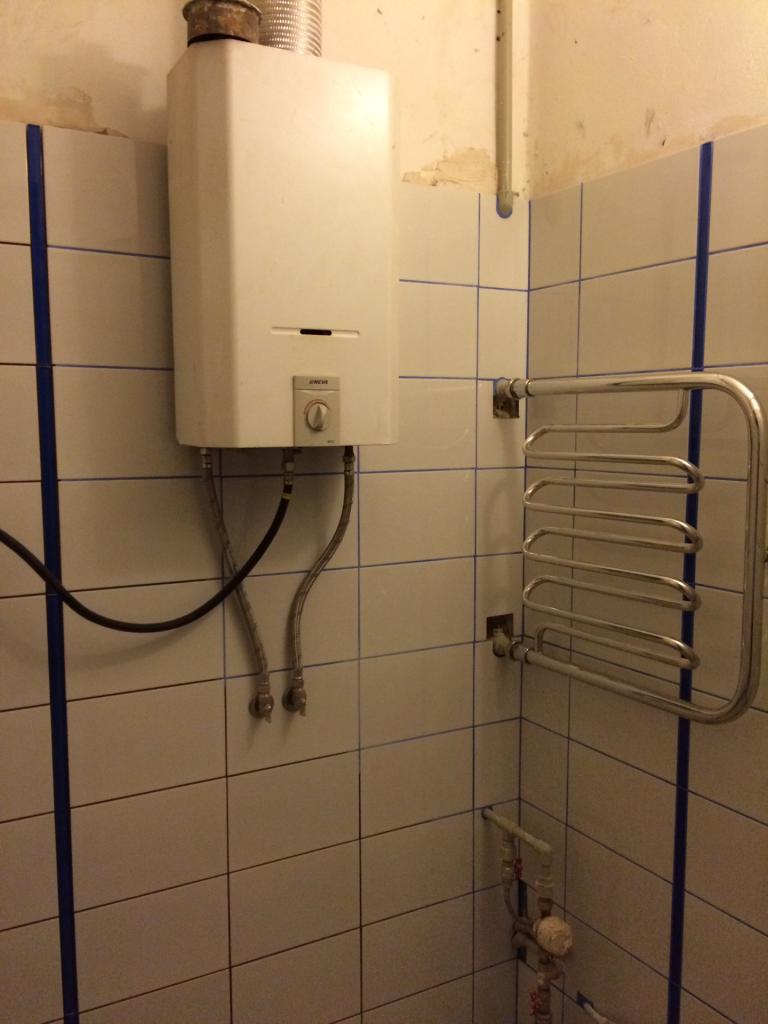
Connecting the appliance using hoses or pipes made of PVC
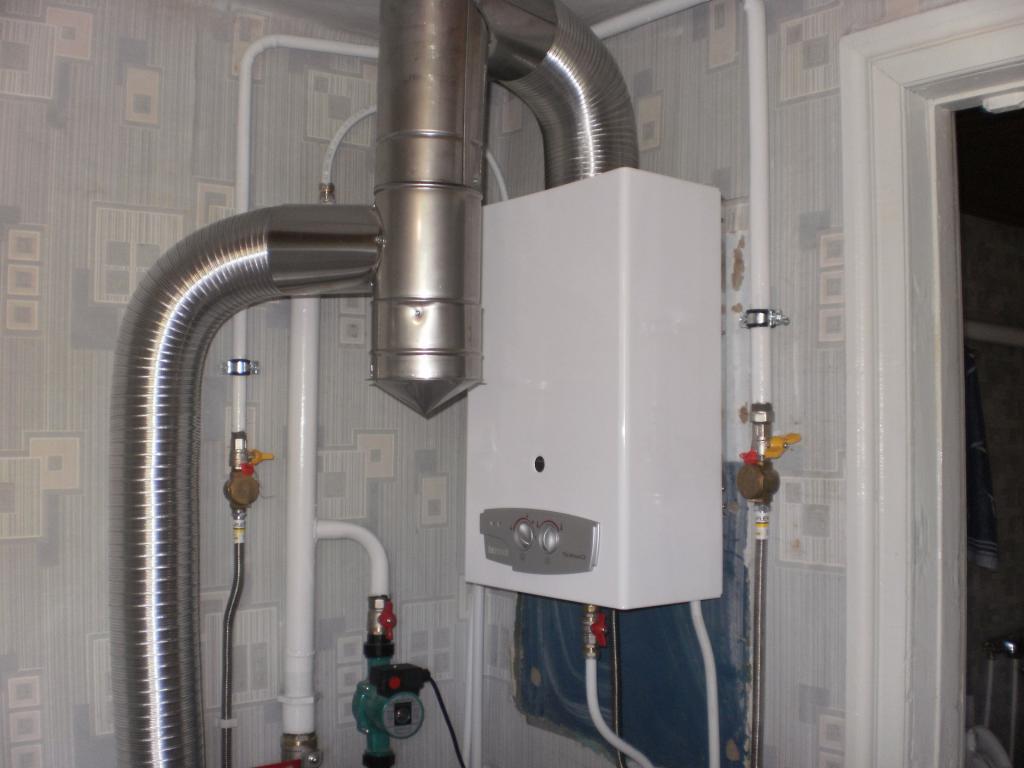
It is necessary to connect the water supply to the column inlet. The hose is convenient to use, because at the joints there will be no need for tape or tow. In series, connect the cold water tap to the column inlet. By the same principle, a hot water outlet is connected to a faucet.After this, it is necessary to open the tap of cold and hot water, observing the tightness. If no leak is detected, squeeze the lock nuts on the hose.
Battery Replacement
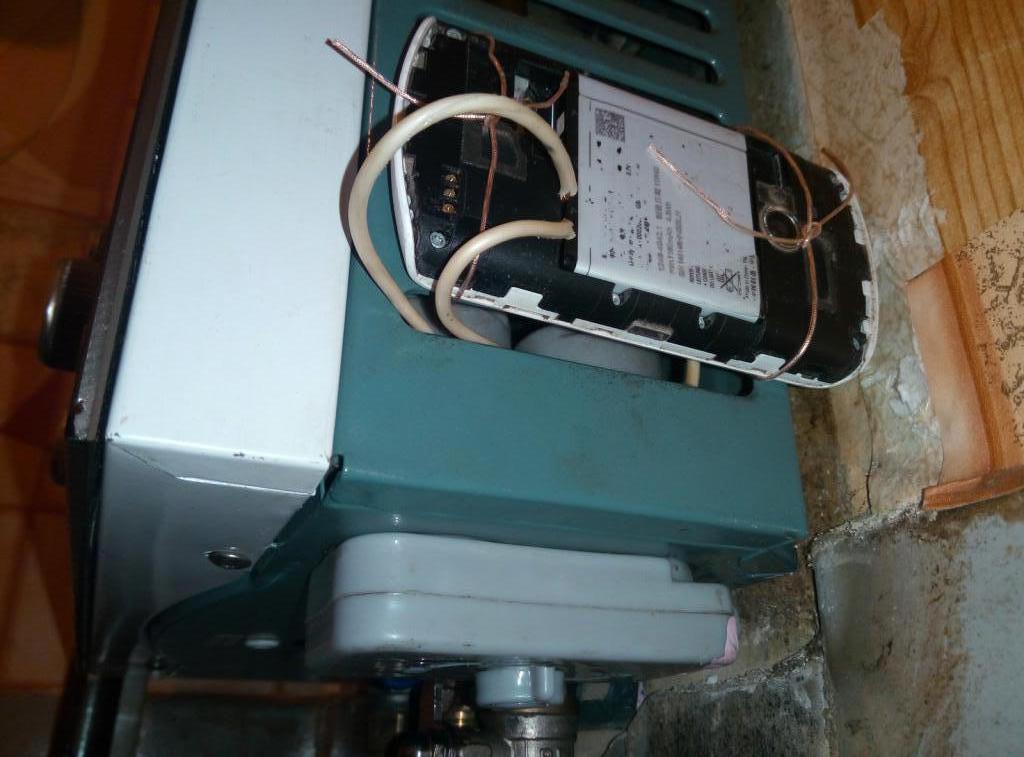
Replacing the batteries in the gas column begins with the removal of the box. To do this, push the lever, pushing the box from the bottom. The discharged cells are removed, and the new batteries can then be reinserted. The container is returned and set until a distinctive click is heard. The lever must also be returned to its place.
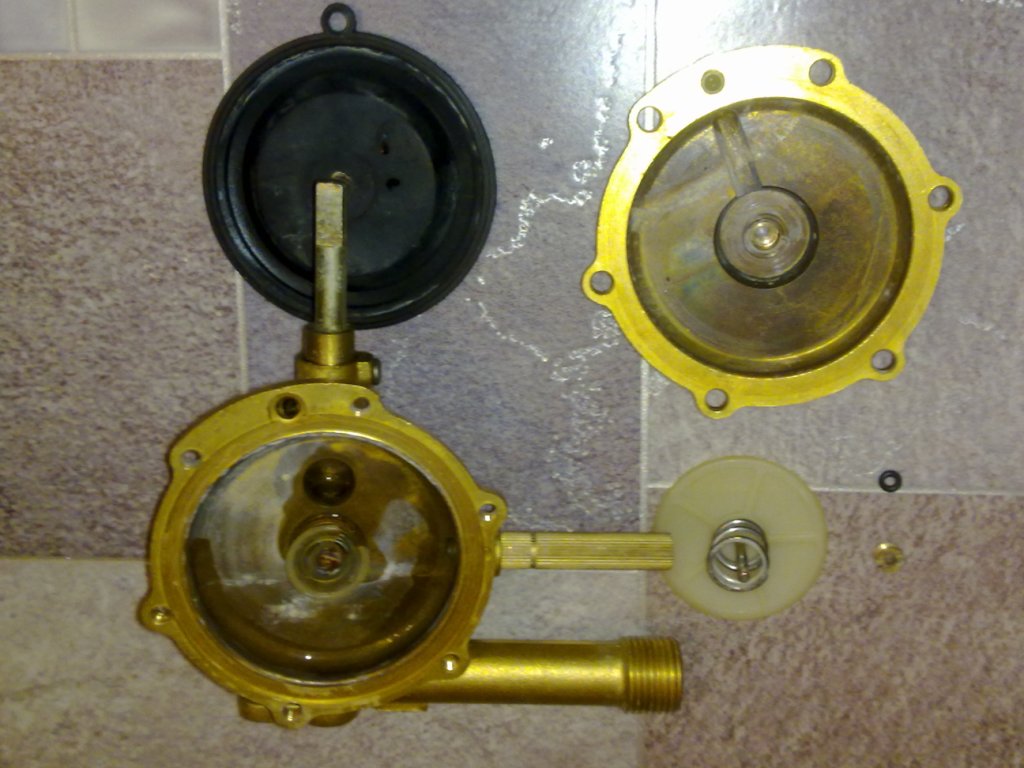
Replacing the membrane in a Neva column
To replace the membrane in the Neva gas column, the equipment is turned off, as well as the supply of cold water and gas. One of the water taps must be opened to relieve pressure in the pipes. At the next stage, the casing is removed. Its attachment points are pretty easy to find. The fixing screws are located under the covers.
Replacing the membrane in the gas column begins after removing the casing, which allows access to the internal device. The element is located in the water regulator as a separate part. Finding it is easy. It will include a cold water pipe. To remove the regulator, unscrew the union nuts securing the pipes. After that, the water regulator is removed. It must be disassembled to replace the membrane. It is important to pay attention to the correct assembly. The element should not be installed upside down, then you will block the bypass channel connecting the halves of the water unit.
Heat exchanger replacement
Before dismantling the heat exchanger, the column must be disconnected from the gas and water supply. By removing the cover on the case. It is necessary to disconnect the heat exchanger and unscrew the screws. Nuts and overheating sensor are disconnected. In the next step, the gas column heat exchanger can be replaced, but the old part is initially removed.