Today, many people are trying to come up with a variety of business ideas in order to bring them to life, get additional financial opportunities. If you also do not know what to do with yourself, and live in your own private house, then the production and sale of flour can be a great and very profitable idea for you.

What you need to know if you decide to produce flour?
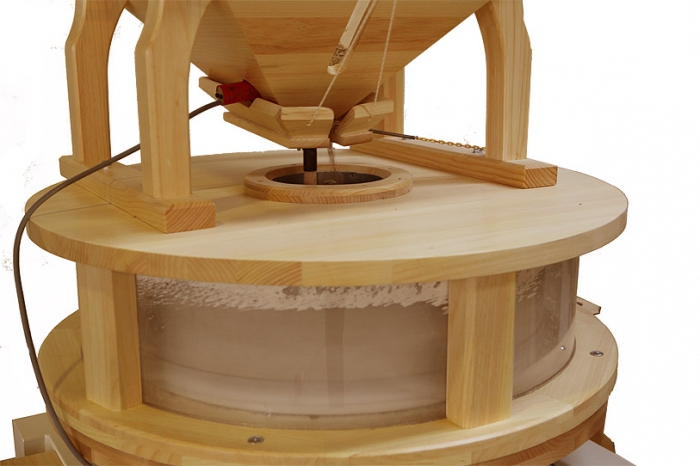
Many do not know exactly what is needed for the production of flour if they decide to sell it. Most worry that a special technique will be required to grind the grain, but this is not entirely true. Equipment for flour production in a private house is not as bulky as it seems at first glance. You definitely won’t need to purchase a mill complex, but you still have to buy an ordinary mini-mill.
How to choose the right equipment for grinding grain?
First of all, before going to the store, where you can purchase equipment for the production of flour, think about how much of this product you are going to produce per hour? In addition, your starting capital plays an important role in this matter, because without the availability of appropriate funds you are unlikely to succeed.
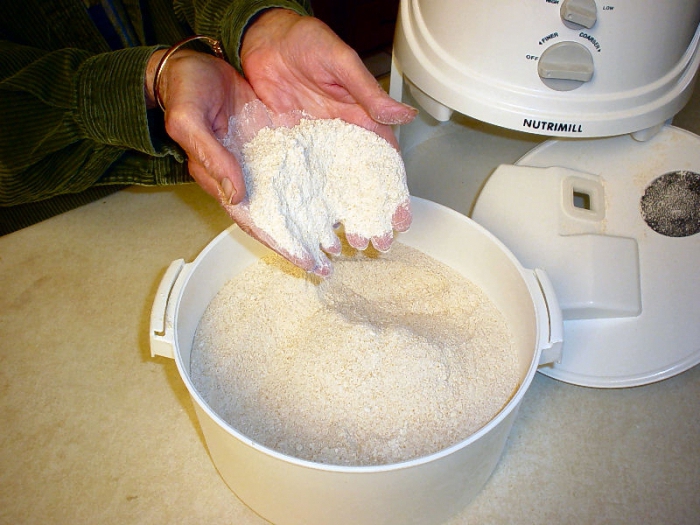
Of course, it is worthwhile to understand that the less flour your equipment will produce in an hour, the worse product quality you will get. As a rule, such flour is suitable only for making homemade bread or for those who like to create crafts using salt dough.
What amount to count on?
If you intend to open your own business and produce at least half a ton of flour in one hour, then you will have to pay a more tangible amount of money. Equipment for the production of flour in large quantities, the cost of some additional services and unforeseen situations will require you to have a starting capital of 50 thousand dollars. In the event that you are going to produce only the highest quality flour in large quantities, you will have to double your starting capital.
What else do you need to know if you intend to start flour production?
As a rule, mini-mills for the production of flour bring the first profit to their owners within one and a half to two years after the acquisition. But do not think that to start your business with grinding grain, you will only need to purchase a mini-mill. In addition, you will have to get a lot of signatures and collect the necessary documents. In particular, permits from the fire service, from the SES, from the State Food Industry and from executive authorities.
In the event that you intend to erect an additional structure where you will produce flour, you will also have to obtain a building permit. You should also immediately consider in which packaging you will sell the flour produced. It can be paper or polypropylene bags. You can also use burlap.
Finished products can be sold in two ways: either open an additional small bakery that will supply shops and cafes with bakery products, or simply sell flour directly on the spot at an affordable price.
Can I make a mini-mill with my own hands?
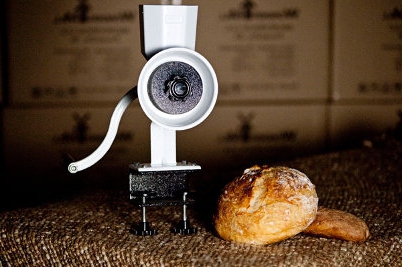
Today, of course, a flour mill is sold in any store.But if you do not want a mini-device, then you can create a small home mill with your own hands. In order to create equipment for the production of flour, you will need the following materials:
- electric drill;
- chisel;
- emery;
- electric motor;
- a pen;
- loading hopper;
- board;
- fasteners;
- bench;
- capacity;
- bucket.
When disassembling the electric motor, leave the starter unchanged. In the rotor, it is necessary to drill small holes (10 mm) with an electric drill, which will go along an inclined one. Leave 1.5 cm between each hole.
Use the grooves to connect the drilled holes. It is very important to remember that the depth of the grooves should be no more than 2 cm. Using an emery, very carefully try to chamfer the top of the rotor. With the rotor in the starter, drill additional holes on the starter cover.
Grain will be poured into these holes, as well as finished products. A loading hopper mounted on the rotor cover will help simplify the process of filling the grain. It should be remembered that the loading hopper and the motor must be the same size.
Using a pin, bolts and nuts, fix the handle to the motor shaft. The mini-mill assembled in this way should be attached to the board, and it, in turn, to the bench. The last should have a hole where the gutter for the finished flour will pass. Under a bench on an inverted bucket, place a container where the product will pour out. After assembly, it is imperative to test the mini-mill.