The use of solar energy is no longer an innovation. You can use it for local heating of water, for example, in the country. You can apply such heating for heating, but the cost of additional equipment will be quite high. To build a solar collector with your own hands is not fantastic!
To use the energy of the sun, special collectors are used. For different purposes, there are several device options. There are such types of elements:
- flat;
- tubular.
Flat collector
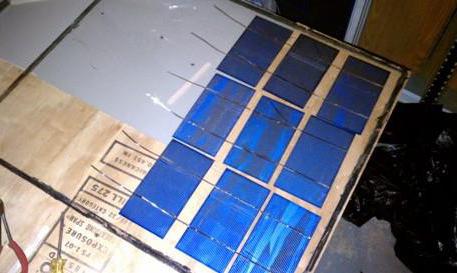
They can be called a solar panel. Do-it-yourself flat solar collector is profitable and easy to create. At the center of this unit is an absorber panel. Such a panel is made of metals that conduct heat well, most often it is copper or aluminum.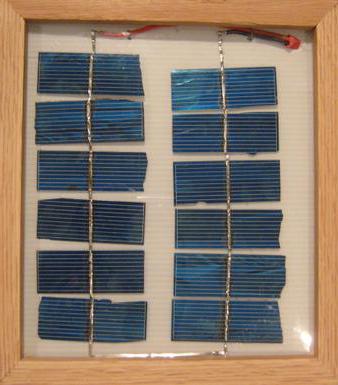 In order for the collector to perform its function well, namely, to absorb solar energy to the maximum and convert it into heat with minimal losses, a special composition must be applied to its surface. Its surface protects the glass with a minimum content of iron in its composition. Such glass has good throughput, minimal reflection of light and is good protection against environmental influences. Around the perimeter, the absorber has a housing for protection against mechanical stress, it is usually made of steel or aluminum. The body and lower part of the collector are insulated. A flat element is able to transfer heat to the coolant that is located in it. It can be plain water or antifreeze.
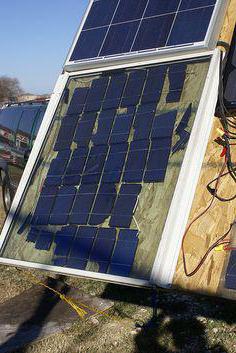
You can position the flat collector in any position. Usually it is fixed on the roof, but in another place it will work no worse. To build such a solar collector with your own hands is possible without large investments.
If we talk about factory elements, then flat can be of standard sizes, with an area of up to 2.5 m2.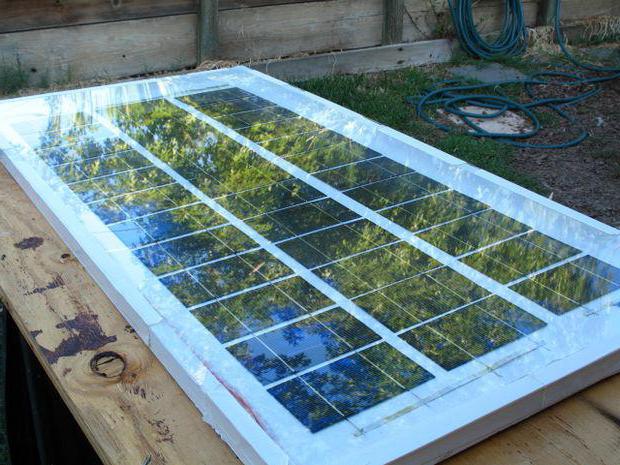 If you need more power, you can install several standard panels together. They will constitute a single system of solar heat.
Flat collectors have an advantage - they are cheaper than vacuum analogues. But at low ambient temperatures, such collectors lose a lot of energy and the efficiency level decreases. Therefore, for use in the summer, a flat collector will be sufficient, but in winter it will yield almost twice to the vacuum manifold.
Vacuum
Such a collector consists of tubes, inside them is a vacuum. The device of each tube resembles a thermos device, based on a rod of copper, the shell of such a thermos is a flask of milk glass, just between them is a vacuum. The inner shell of the tube is coated with special black paint, and the outer glass is transparent. The tubes are combined using a connection module.
The price category of this type of collectors is higher than the analogues of flat models, but the advantage is determined by their benefit in winter. With your own hands for the home, solar collectors can be made from improvised materials. They can be from other devices, for example, from the refrigerator. In the repair of vacuum-type devices, difficulties should not arise. If one of the tubes fails, the collector will continue to work. But the heat output will be less.
Types
Vacuum elements can be divided into:
- direct-flow;
- with heat pipe.
It is more difficult to mount a vacuum solar collector with your own hands than a flat one. It will come out a little more expensive, but we must evaluate the advantages of vacuum before installing it.
 It is not so difficult to build a solar collector with your own hands. But it is worth remembering that it will not be as effective as a similar one produced under industrial conditions. You must make an appropriate calculation of the benefits and effectiveness of this device.
How to make a solar collector with your own hands?
In order to proceed with the construction of such a solar heat storage device, you must independently perform the following steps:
- prepare the basis for the future collector;
- prepare a radiator for installation;
- prepare a heat accumulator;
- mount directly to the collector.
The basis of the device can serve as edged boards with sizes from 25-100 mm to 35-135 mm. Of these, make a box of a suitable size, isolate its bottom and put insulation (ordinary glass wool will do), cover with a galvanized sheet on top.
The heat exchanger is manufactured as follows:
- It is necessary to purchase metal tubes: thin-walled and thick-walled.
- In thick-walled tubes, holes must be made in diameter of thin pipes in increments of not more than 45 mm. They are drilled on one side. Of course, a self-made solar collector will require time to prepare not only the necessary material, but also the tool.
- At this stage, it is necessary to securely fasten the tubes in the holes and fix them by welding.
- The constructed structure is fixed on a galvanized sheet located on the box.
- The next step is to paint the collector box black. It is advisable only to paint the bottom dark, and leave the remaining parts light, since it is the bottom that will absorb the sun's rays.
- Then the cover glass is installed, observing a distance between it and the tubes of at least 1 cm.
- The reservoir for the collector can be any sealed container. Its volume can reach 400 liters (minimum 150 liters).
- The next step is the manufacture of an advance chamber. It can be a capacity of up to 40 liters, a crane is installed on it, it is this device that will supply water.
- To avoid heat loss, it is necessary to thoroughly isolate the tank and the collector itself.
Device assembly
Now you need to finally assemble it into a single whole. Assembly is carried out in several stages:
- Installing the drive and dash cameras. An important condition is that the liquid in the drive must be 80 mm lower than the level in the advance chamber.
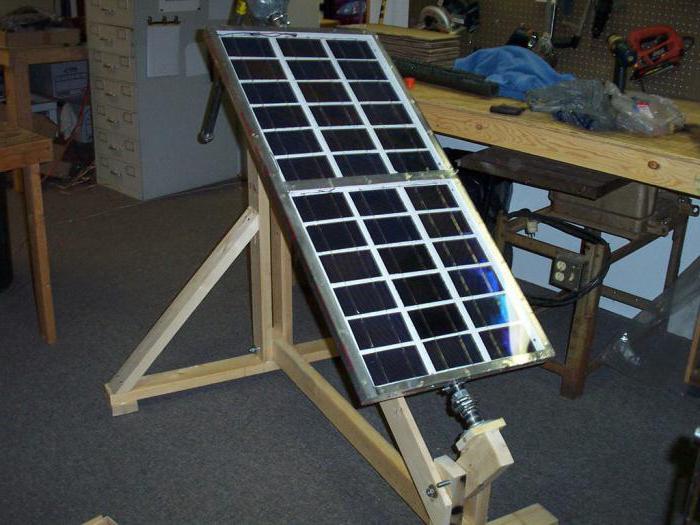
- Placing the collector in a prepared place. You can do this on the roof. It is necessary to observe an angle of inclination of 35-40 degrees, setting the element while on the south side.
- To minimize heat loss, keep a distance of at least 50 cm between the heat exchanger and the storage tank.
- The drive should be located above the collector and below the dash cam.
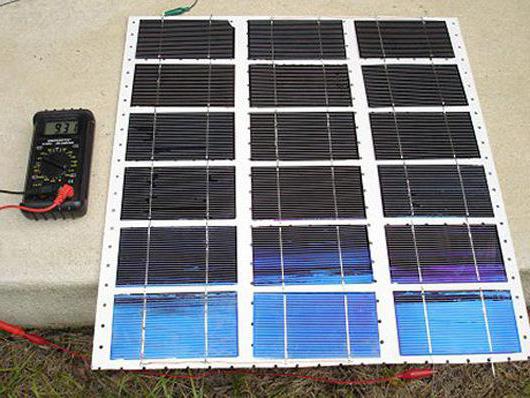
The most crucial step remains - connecting to the system.
 To do this, fill the system with water, adjust its amount, make sure there are no leaks. If all conditions are met, such a collector can be used daily.
Such a made solar collector for heating with your own hands will save a lot of money. Water heating systems, which are based on the solar collector, can be divided according to the type of water circulation.
Natural water circulation
With such a circulation system, the storage tank is located above the collector. According to natural laws, the water heats up and enters the tank. In this case, cold water is displaced, it goes down and enters the collector. There she heats up and rises again. A tank of this design can be equipped with only two hoses: for supplying cold water and discharging hot. Such a system is suitable for small cottage needs - a summer kitchen or a shower.
Forced
Such a system does not depend on where the collector or storage tank is located. Water circulates in such a system thanks to the optional pump. Due to the fact that the installation of an electric pump is required, the cost of the collector increases.This increases productivity.
Along with flat and vacuum devices, it is possible to create an air solar collector with your own hands. Its device is much simpler than water, but the main drawback is significant - it can not transfer all the accumulated heat. Air is a conductor of heat much worse than water.
The choice
It is impossible to say unequivocally which collector is better to choose. Everything will depend on where it will be applied and what level of efficiency is needed in a particular case. But it will help to make a choice by comparing the positive qualities and shortcomings of each of the species according to the following parameters:
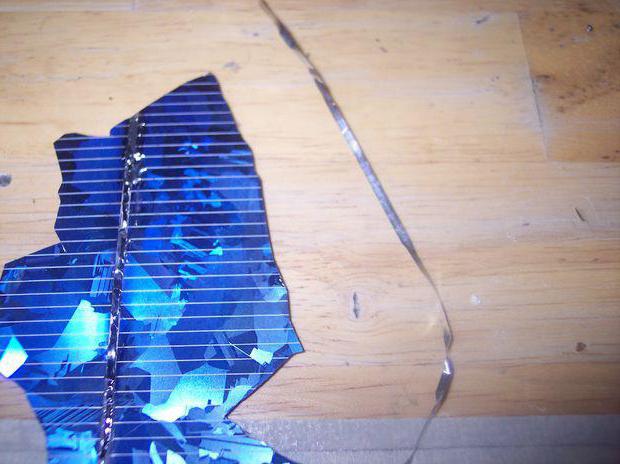
- Strength. In this case, flat collectors “win”, they are more reliable due to the simplicity of their design. Vacuum inferior in strength, they are more fragile.
- Repairs. If the flat collector breaks down, the entire absorption system must be replaced. In the vacuum, you can replace only individual tubes that fail.
- Cold. Minimum problems in a cold environment will be only in the air manifold.
- Heating temperature. A flat collector can be used to heat water 40 degrees above ambient temperature. If it is necessary to heat to a higher temperature, it is better to use a vacuum type device. Also, solar panels for heating a house, made with their own hands, will work effectively in the winter period, provided that they are correctly assembled and installed, as well as oriented to the cardinal points and to the angle relative to the horizon.
- Life time. On average, this period is set from 15 to 30 years. Only vacuum devices cannot brag of the given term. For them, it is slightly below these values. The vacuum solar collector, assembled with your own hands, even if it does not last as long as we would like, is profitable at cost.
Benefit from the solar cell
There are advantages to installing a collector, but in each individual case there will be more or less. The main common advantages:
- Saving artificial resources.
- Refusal of artificial resources completely. This can be done when it comes to low consumption.
- Savings on the purchase of finished equipment, with the possibility of mounting the collector with your own hand from available materials.
- Independence from common heating networks. If it is not possible to connect to the central highway, solar collectors are a good replacement.
If the house is large and a sufficient number of people live in it, a complete rejection of artificial resources is impossible, but their reduction and savings on this is a completely feasible task.
